How to Install Windows 10 – Step-by-Step Guide (2027)
If you are clean installing Windows 10 using bootable installation media, see below.
If you are activating Windows 10 or upgrading to Windows 10 Pro for Workstations, click here.
Explore the full benefits of linking your Windows license to your Microsoft account.
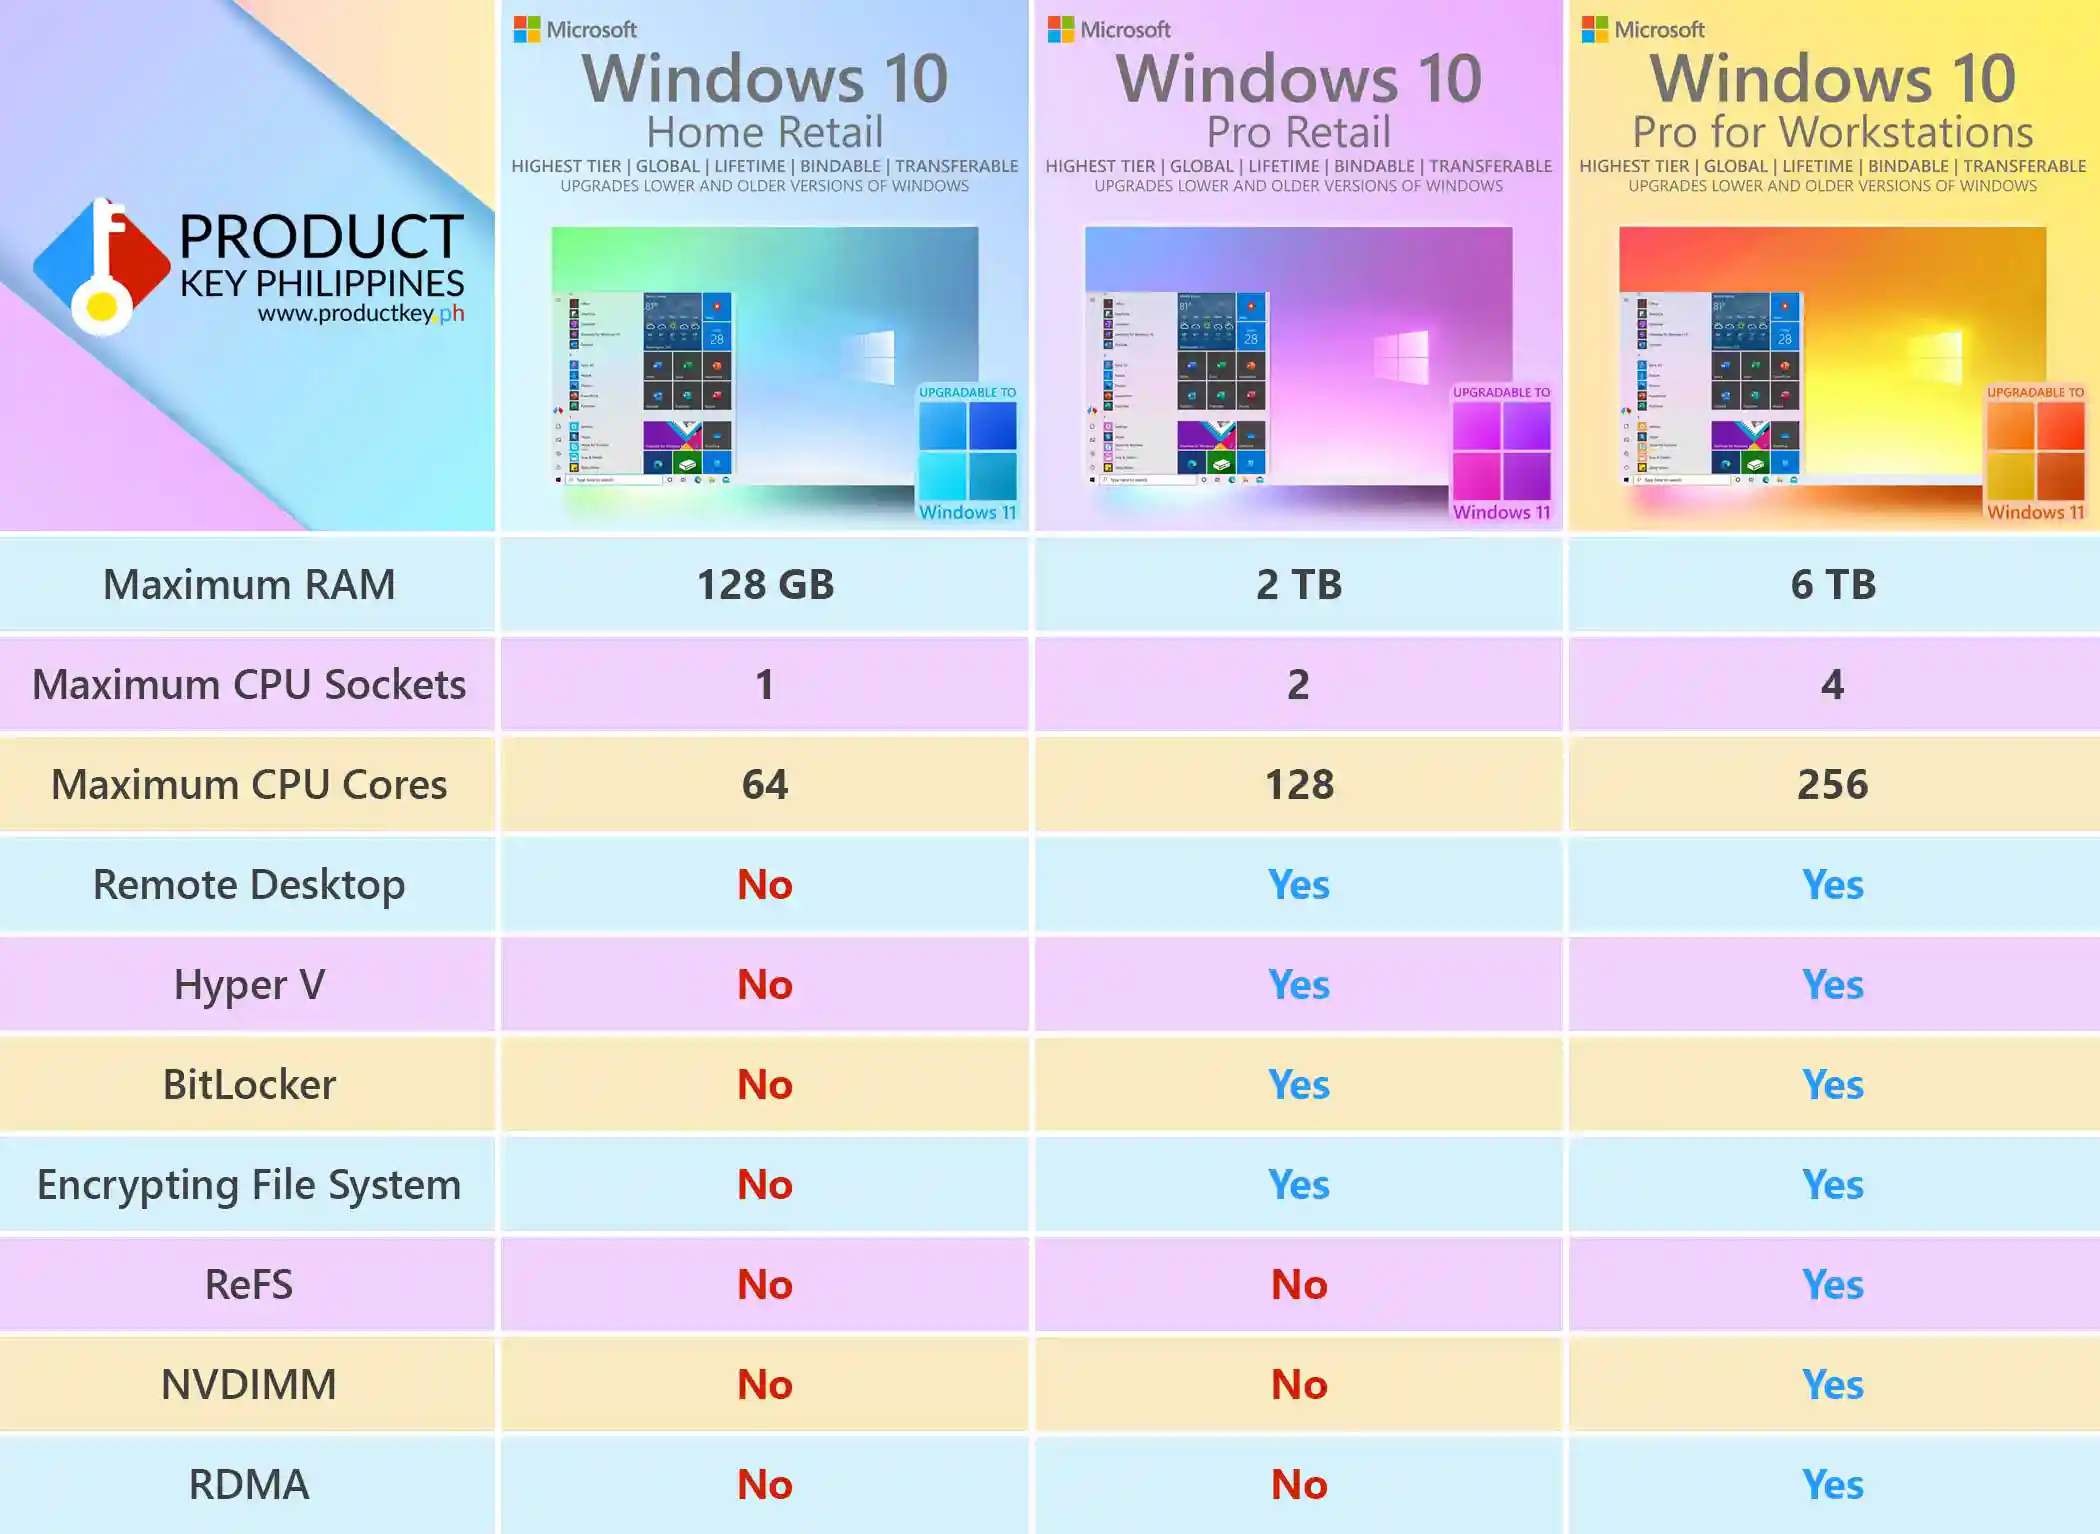
Our installation guide covers Windows 10 Home, Windows 10 Pro, and Windows 10 Pro for Workstations. Follow the clean-install instructions below, or go directly to the activation and upgrade section if Windows 10 is already installed.
I. WINDOWS 10 CLEAN INSTALL GUIDE
Use this section to install Windows 10 on a new PC or start fresh on an existing PC. Prepare a USB flash drive with at least 8 GB of storage. Back up important files from the PC and USB drive first: creating the installer erases the USB drive, and a clean installation removes files, apps and settings from the selected Windows installation drive.
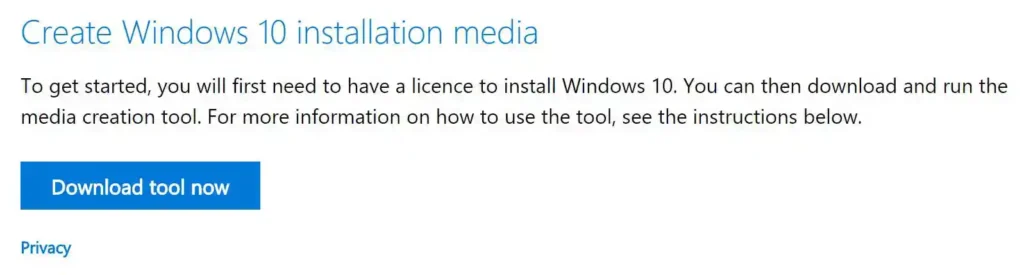
1. Visit the official Windows 10 download page. Under Create Windows 10 installation media, download and run the Media Creation Tool.
2. Review the license terms and select Accept. Choose Create installation media, then select Next.
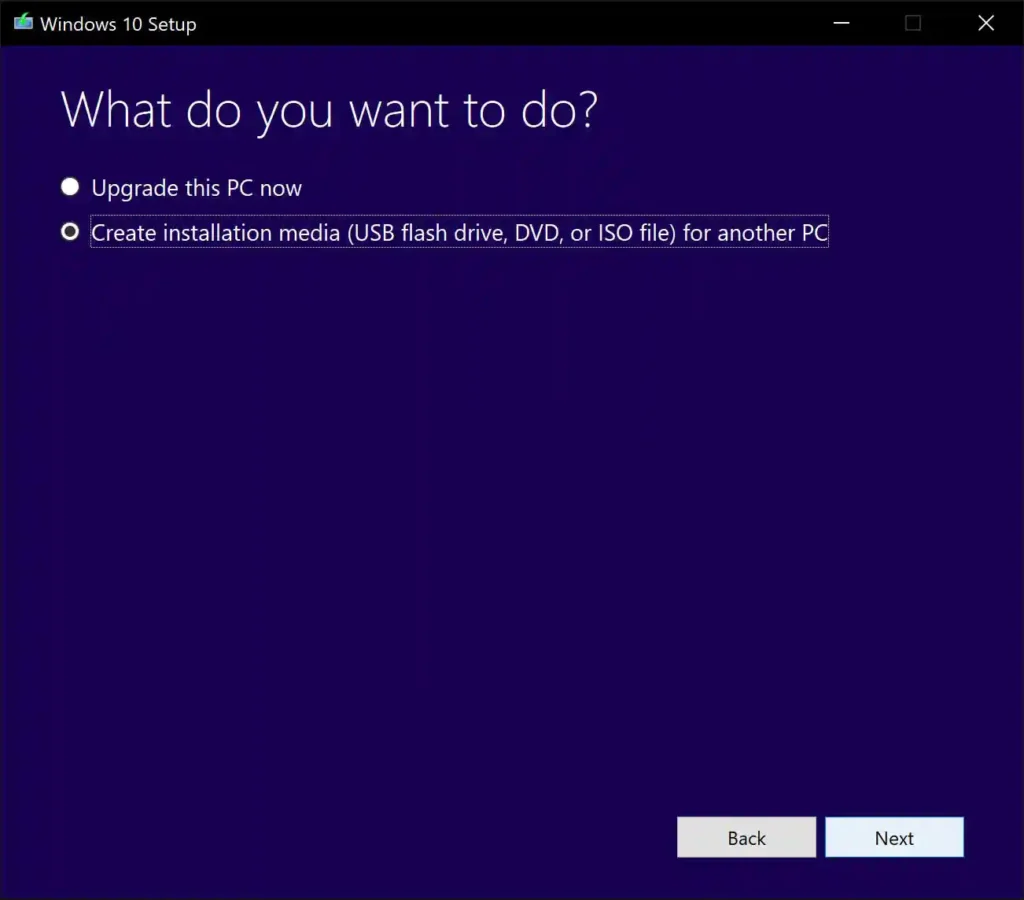
3. Choose your language, leave the edition set to Windows 10, and select the appropriate 32-bit or 64-bit option for the PC where Windows will be installed. Clear Use the recommended options for this PC if you need to change these selections, then select Next.
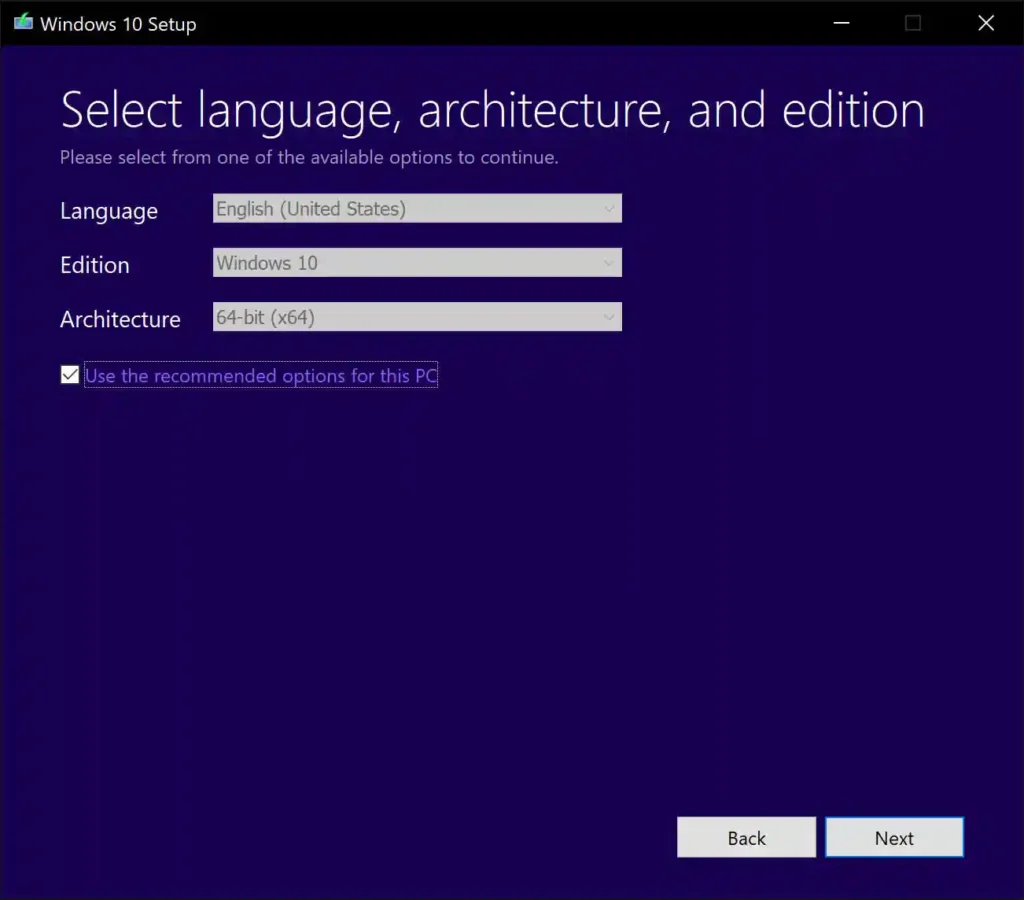
4. Connect the blank USB flash drive to your PC. Select USB flash drive, then select Next.
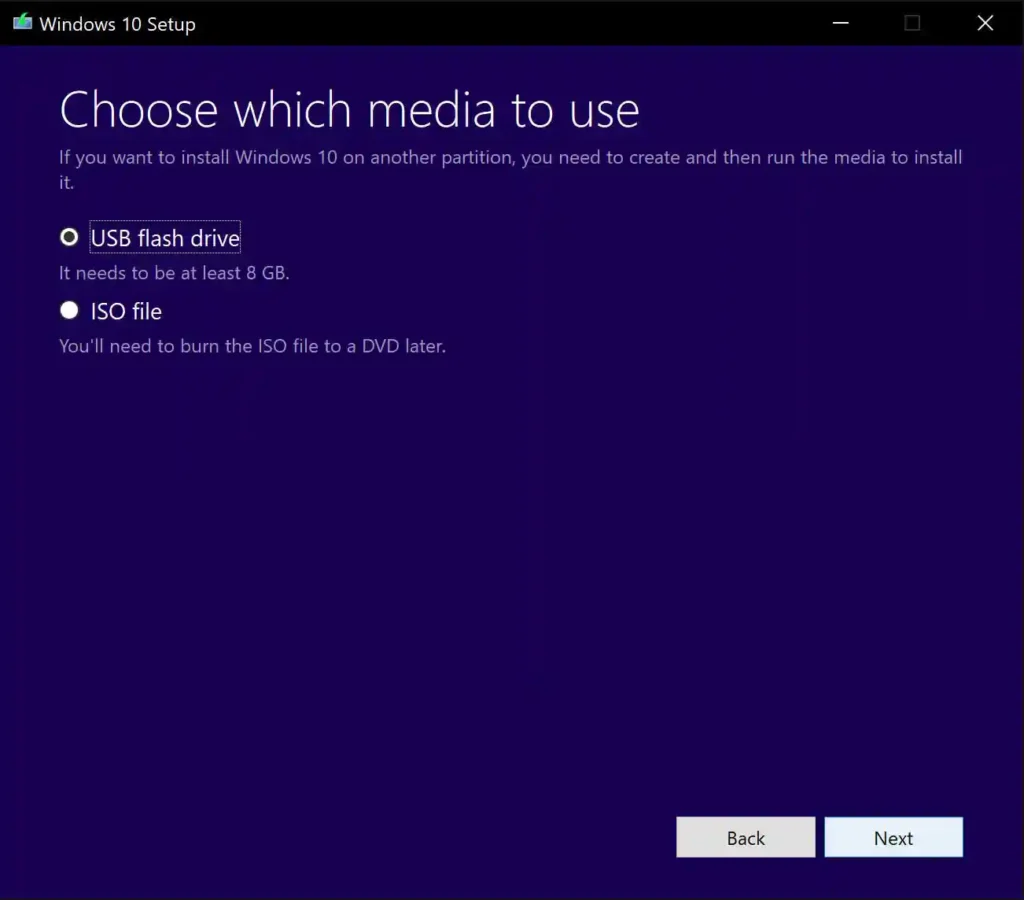
5. Select the correct USB drive from the list, then select Next. Check the drive carefully because the tool will erase its contents.
6. Wait while the tool downloads Windows 10 and prepares the bootable USB installer. The time required depends on your PC, USB drive, and internet connection.
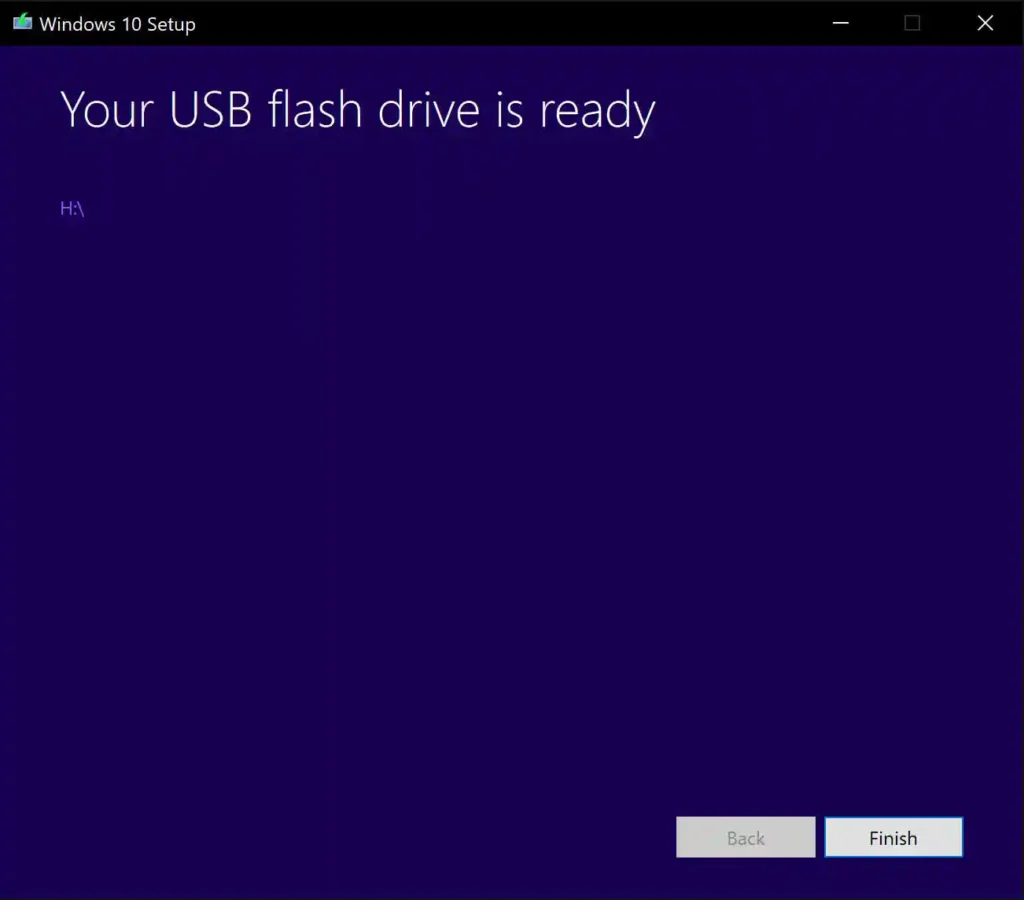
7. When the tool confirms that your USB flash drive is ready, select Finish. Your Windows 10 installer is ready to use.
8. Connect the USB installer to the PC where you want to install Windows 10, then restart the PC.
9. Open your PC’s boot menu during startup and select the USB installer. The boot-menu key varies by manufacturer, so check your PC or motherboard documentation. For detailed instructions, see How to Boot From USB to Install Windows.
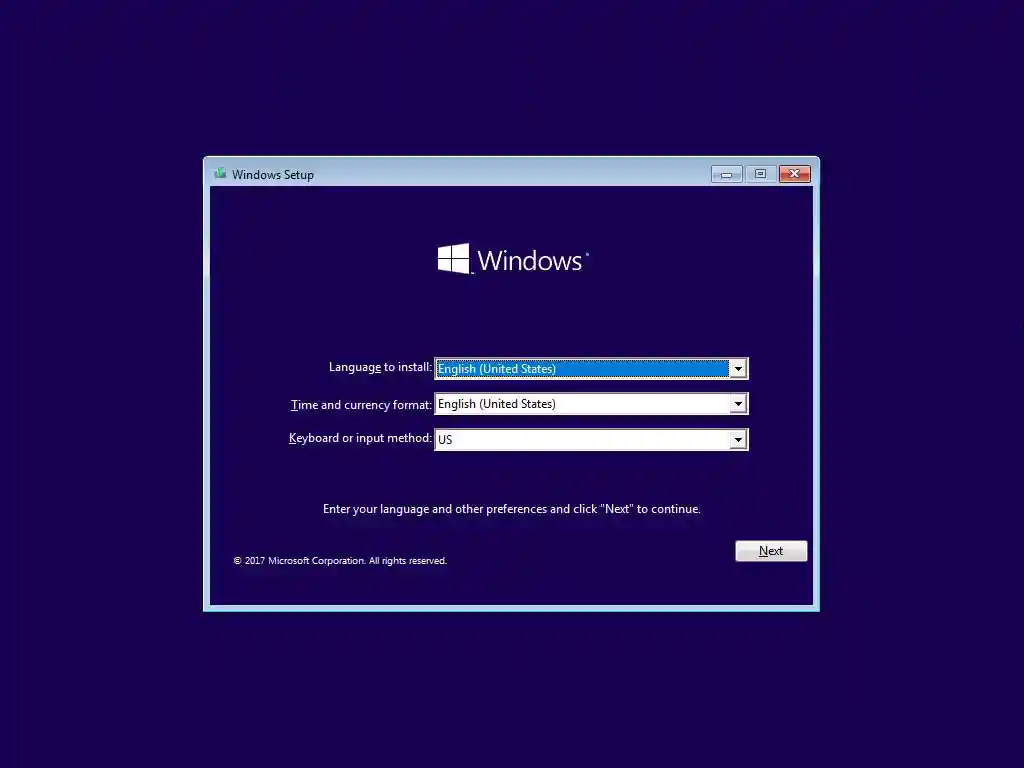
10. In Windows Setup, choose your installation language, time and currency format, and keyboard or input method. Select Next, then select Install now on the next screen.
11. On the Activate Windows screen, enter the 25-character Windows 10 Home or Pro product key from your order, then select Next. Windows Setup selects the edition that matches your key.
For Windows 10 Pro for Workstations: Select I don’t have a product key instead, then choose Windows 10 Pro or Windows 10 Home on the edition-selection screen. After installation, use your Workstations key with the activation and upgrade instructions below.
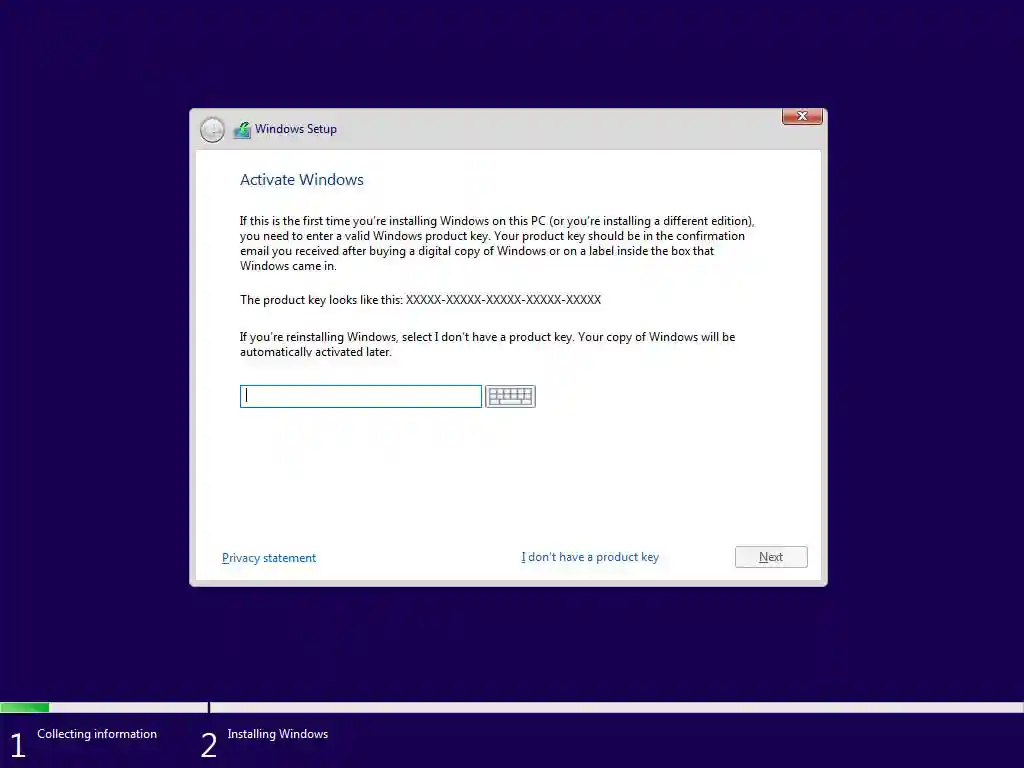
12. Review the license terms, select I accept the license terms, then select Next.
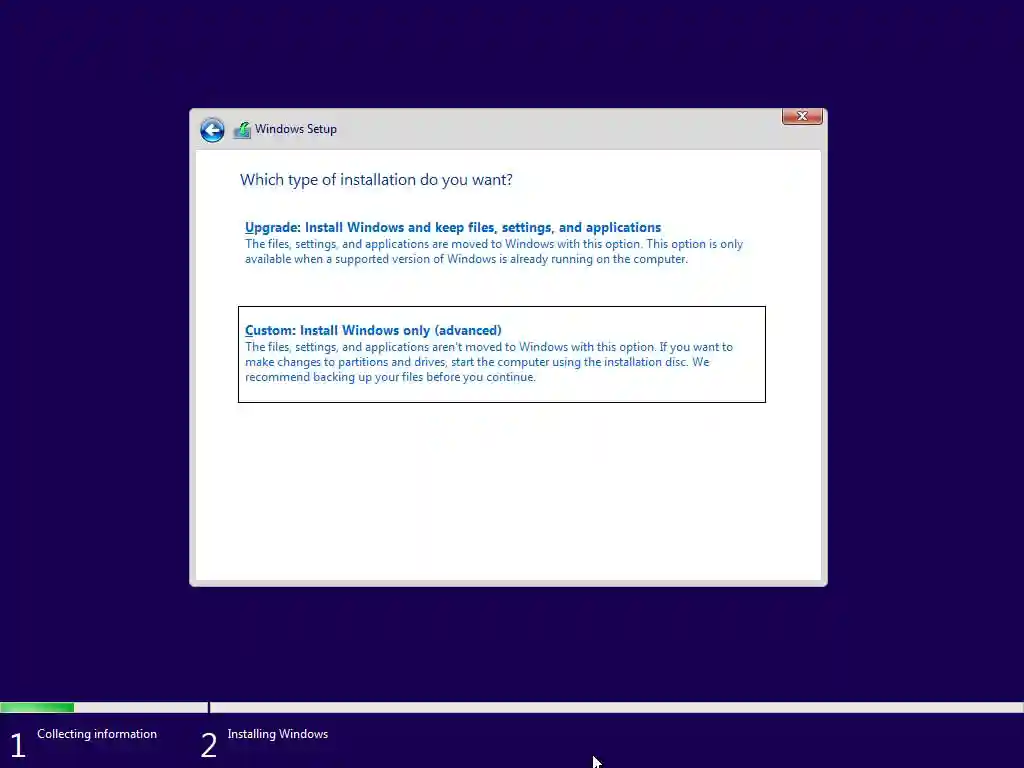
13. Select Custom: Install Windows only (advanced) to perform a clean installation.
14. On Where do you want to install Windows?, identify your intended installation drive by its size and partition details. A label such as Drive 0 identifies a physical drive; the partitions listed under it are sections of that drive. Make sure you select the correct internal drive.
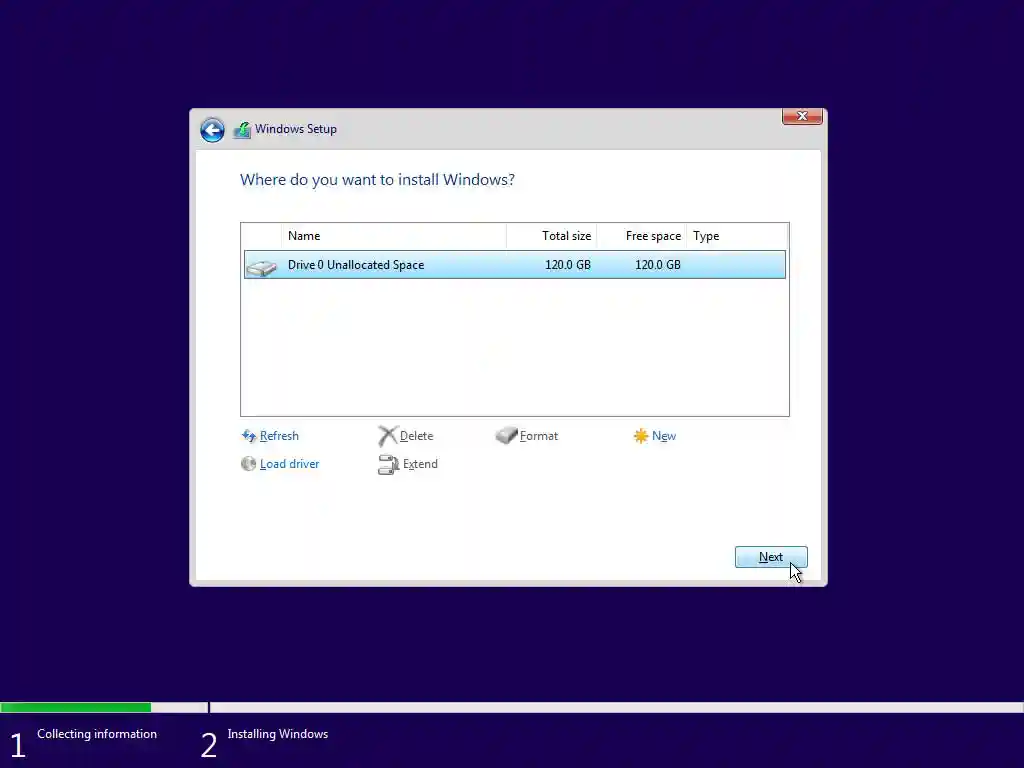
15. For a fully clean installation, select each partition only on the installation drive you have backed up and select Delete. Leave other drives unchanged. Select the resulting Unallocated Space, then select Next. On a new, empty drive, simply select its unallocated space. Windows creates the partitions it needs automatically.
16. Keep your PC powered on while Windows installs and restarts. Complete the on-screen setup for your country or region, keyboard, network, account, and privacy preferences. Once you reach the desktop, continue with the activation and upgrade instructions below to check activation and Microsoft account linking, or complete your Windows 10 Pro for Workstations upgrade.
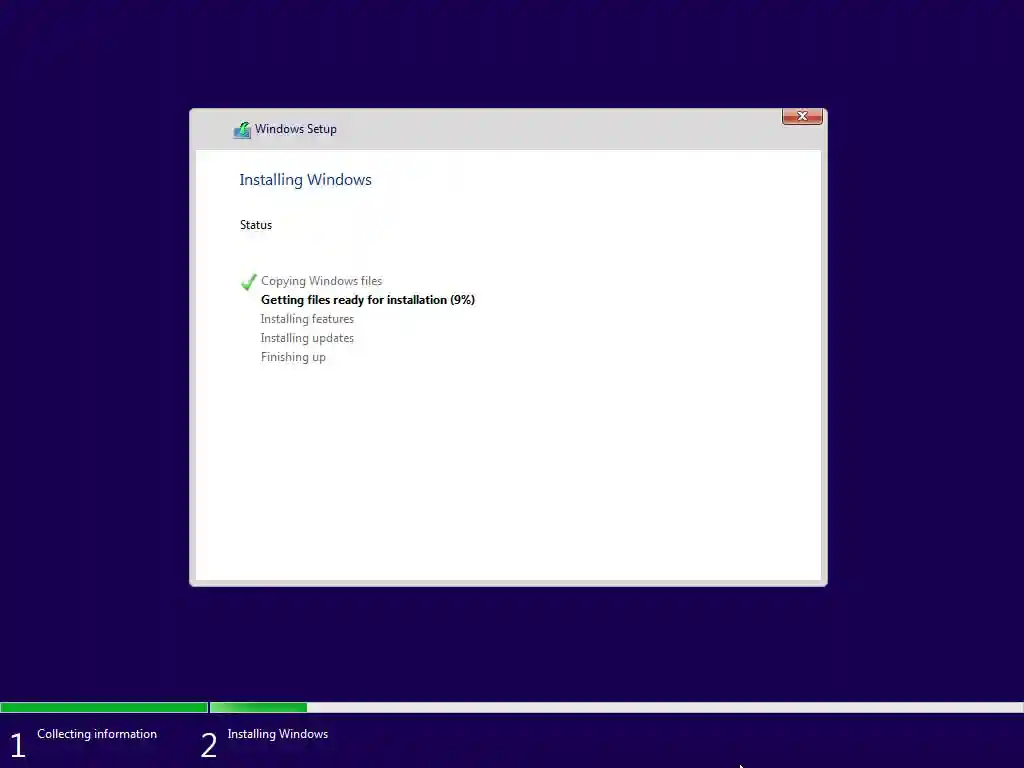
AFTER THE RESTART: Let the PC boot from its internal drive. If the USB setup screen appears again, remove the USB installer and restart, or select Windows Boot Manager in the boot menu.
II. ACTIVATE OR UPGRADE WINDOWS 10 AND LINK YOUR LICENSE TO YOUR MICROSOFT ACCOUNT
This section covers activating an existing Windows 10 Home or Pro installation with a matching product key, and upgrading from Home or Pro to Windows 10 Pro for Workstations with a Workstations key. If your purchased edition is already activated, go straight to step 7 to check activation and Microsoft account linking.
The screenshots show Windows 10 Home and Pro examples. The edition displayed on your PC should match the license you purchased.
1. Save your work, back up important files, and connect your PC to the internet. Install any pending Windows updates and have your 25-character product key ready.
2. Open Start, search for Activation settings, and open it. You can also go to Settings > Update & Security > Activation.
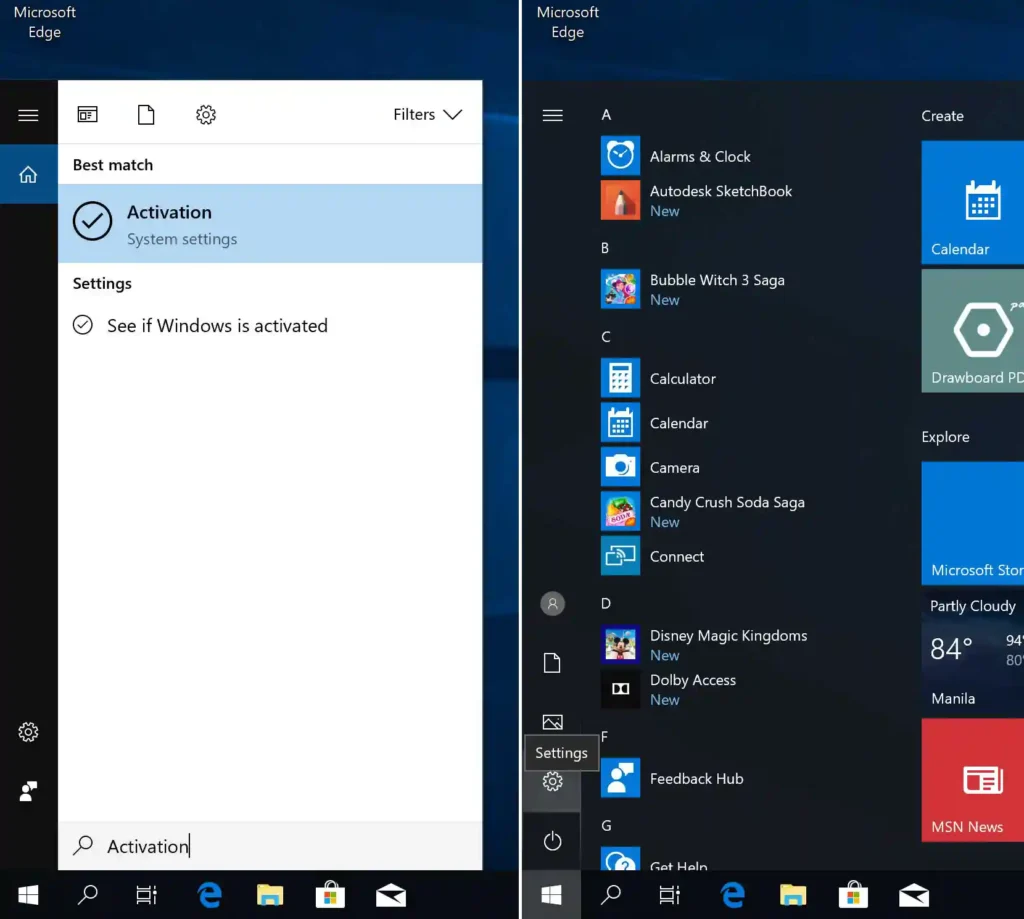
3. In Activation settings, select Change product key.
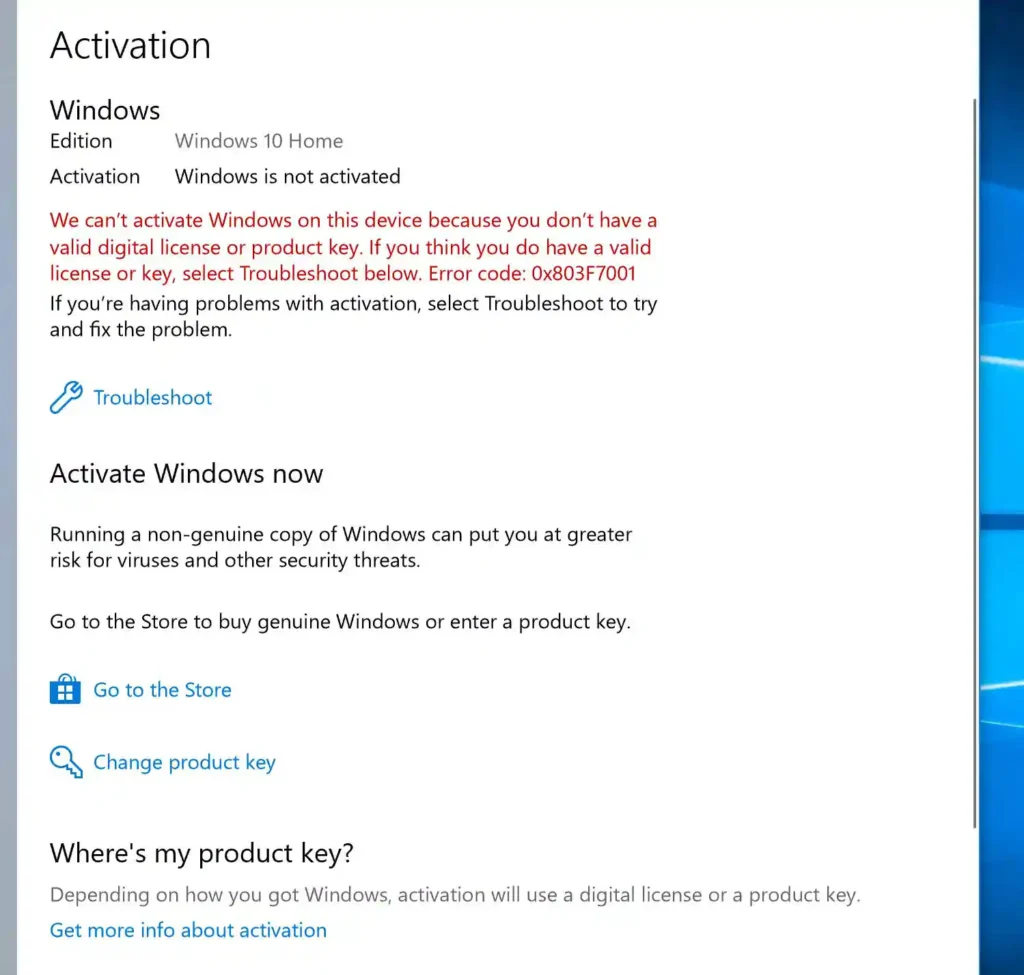
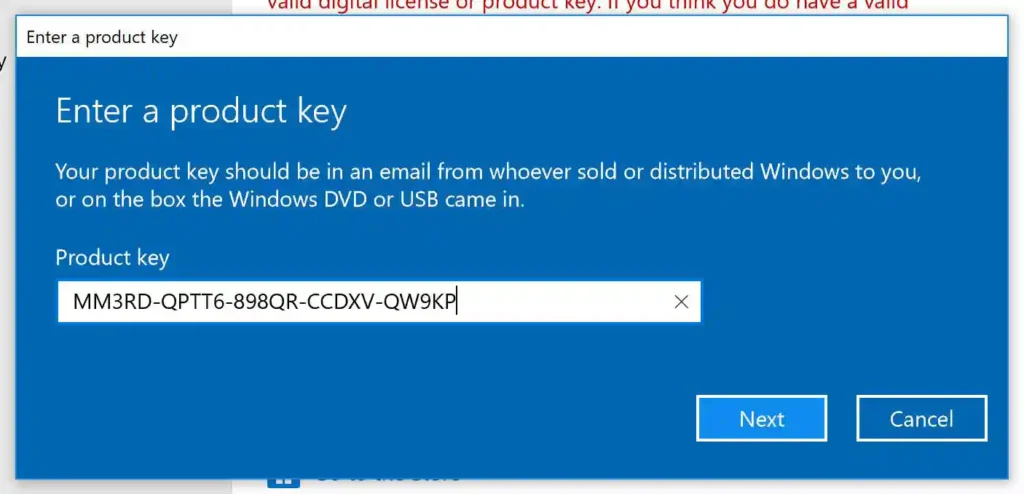
4. Enter the 25-character product key from your order, then select Next. To upgrade from Home or Pro to Windows 10 Pro for Workstations, use your Workstations key.
5. For a Workstations upgrade, select Start when Upgrade your edition of Windows appears. If you are activating an edition already installed on your PC, follow the activation prompt and continue to step 7.
6. Let Windows finish adding the new features. Keep your PC switched on and allow it to restart if prompted. Wait until you are back at the desktop before continuing.
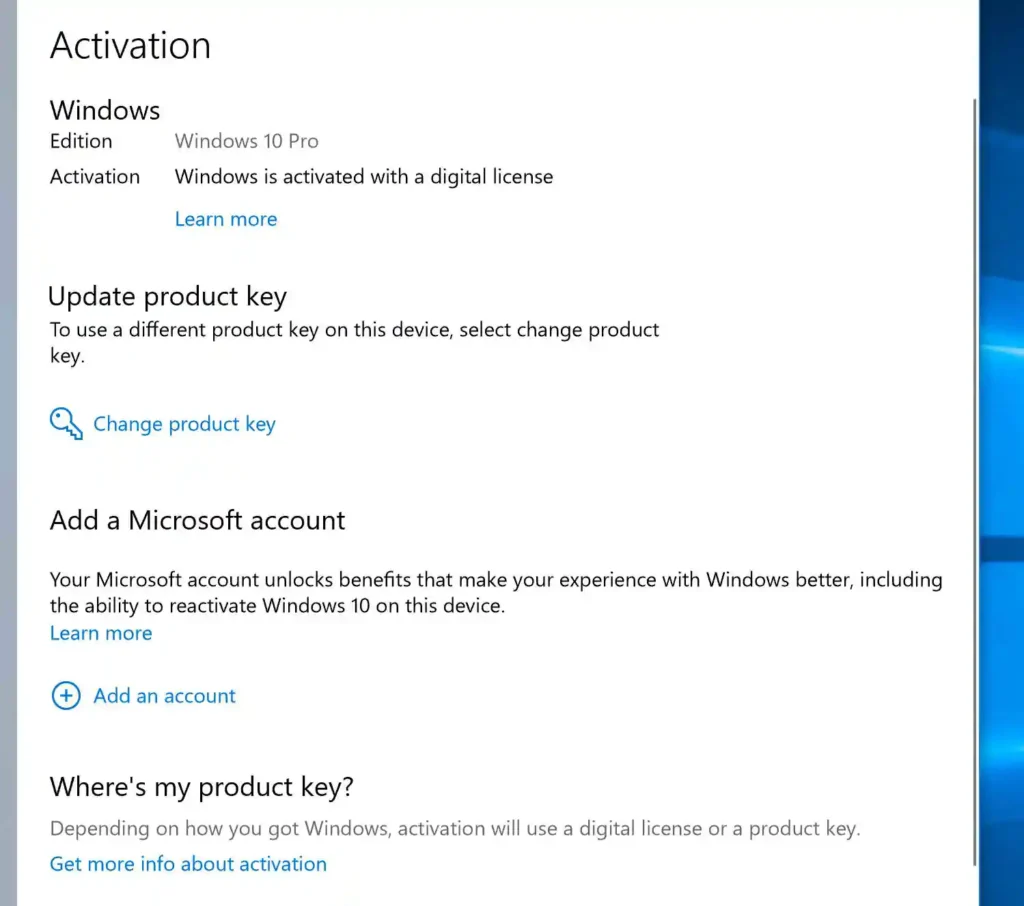
7. Go to Settings > Update & Security > Activation. Confirm that Windows is activated and the edition matches your license. After a Workstations upgrade, it should read Windows 10 Pro for Workstations. If your digital license is already linked to your Microsoft account, skip to step 11. Otherwise, continue below.
8. If you are using a local account, select Add an account under Add a Microsoft account. The screenshot below shows an activated Windows 10 Pro installation before account linking.
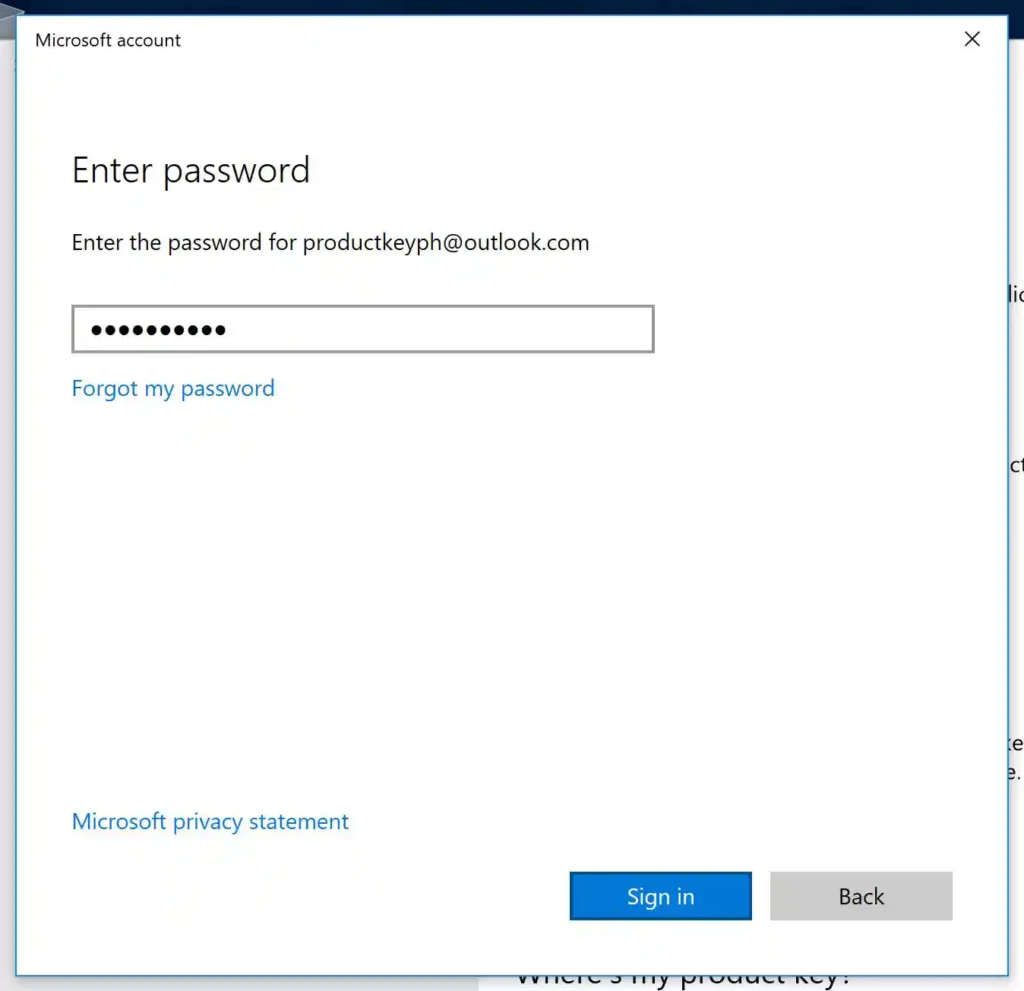
9. Sign in with the personal Microsoft account you want to link to this PC and complete any verification prompts. If you do not have a Microsoft account, create one when prompted.
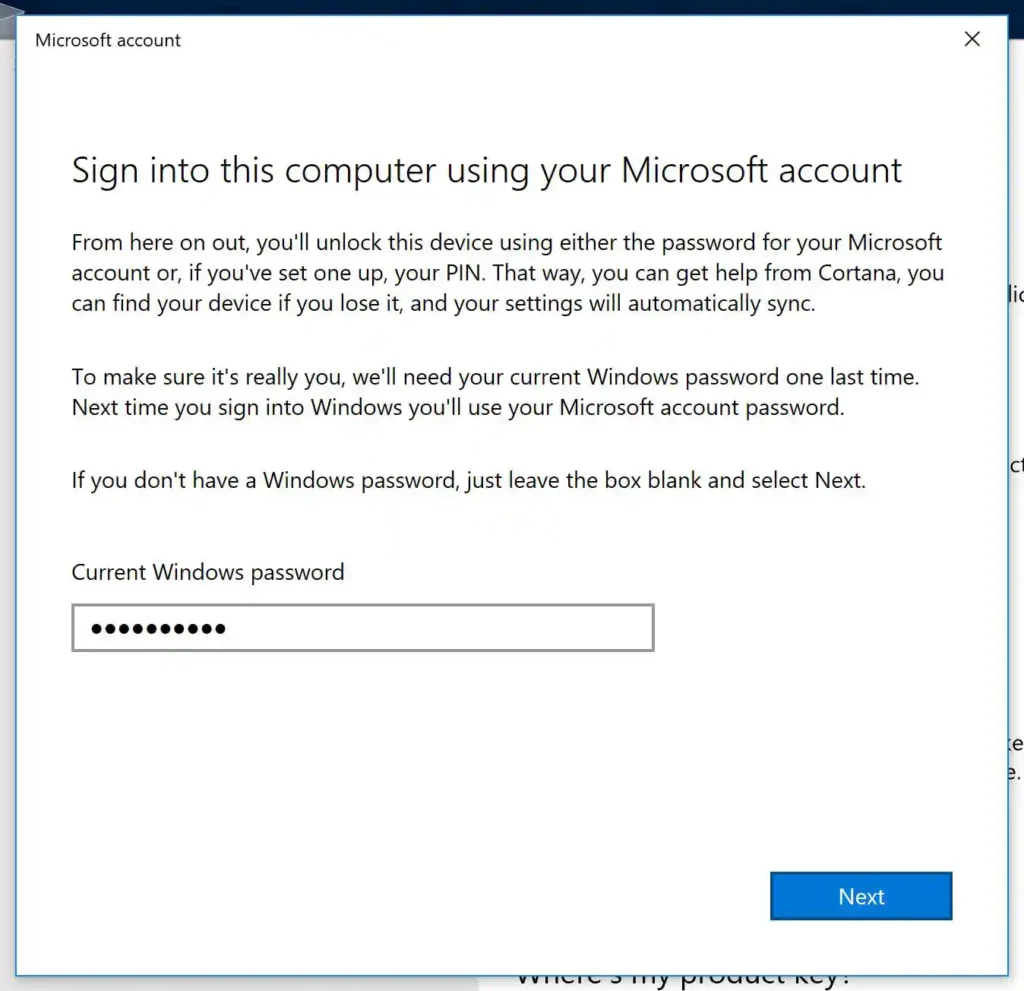
10. Enter your current Windows password when asked, then select Next. Complete Windows Hello setup if prompted.
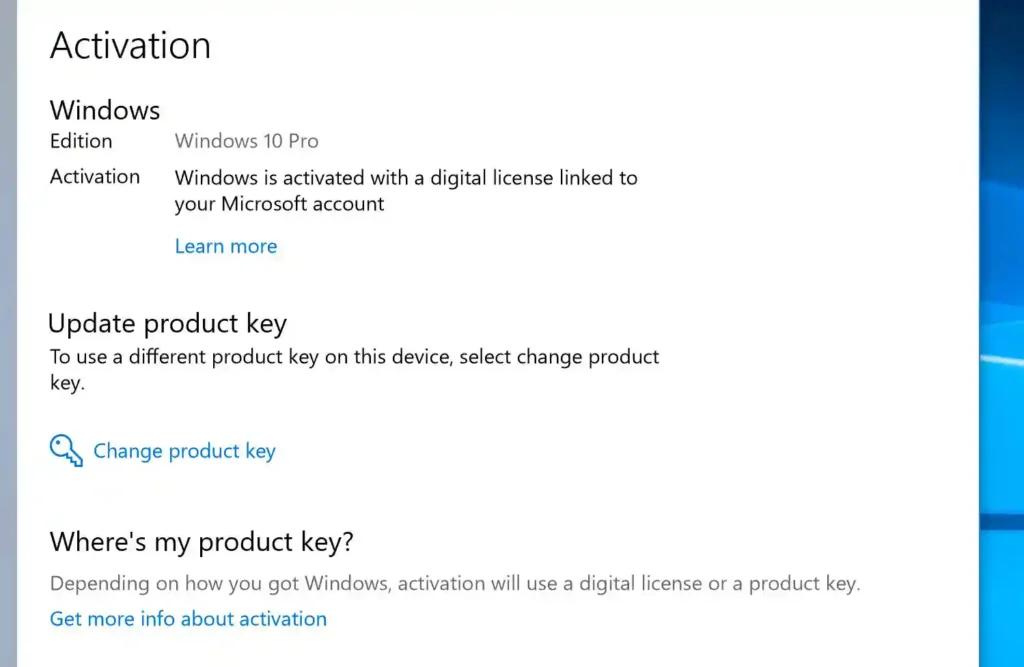
11. Return to Settings > Update & Security > Activation. Confirm that it says Windows is activated with a digital license linked to your Microsoft account. Your activation and account linking are complete.
If an activation or upgrade error appears, restart your PC once and check the edition and activation status again. If the issue remains, contact our support team with the error message so we can help you complete activation.
Explore the full benefits of linking your Windows license to your Microsoft account.